Photographing the solar corona is one of the most exciting challenges in travel photography. The corona is the Sun’s outer atmosphere, visible to the naked eye only during the short moments of a total solar eclipse. For many travelers, seeing it is a once-in-a-lifetime experience. Capturing it with a camera takes planning, safety, and a simple but reliable workflow.
This guide covers the basics for travelers who want to photograph the solar corona without turning the trip into a complicated technical project. You do not need the most expensive gear, but you do need to prepare before the eclipse day.
What Is the Solar Corona?
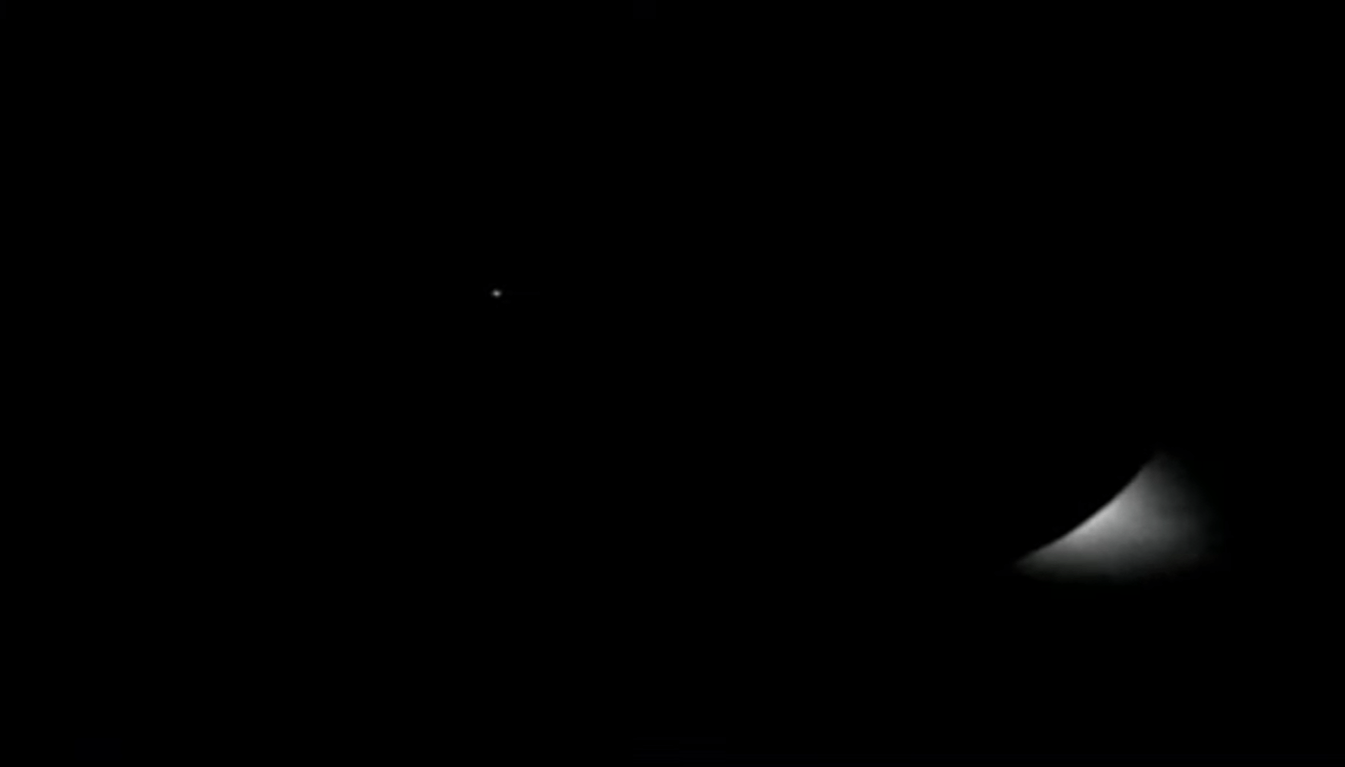
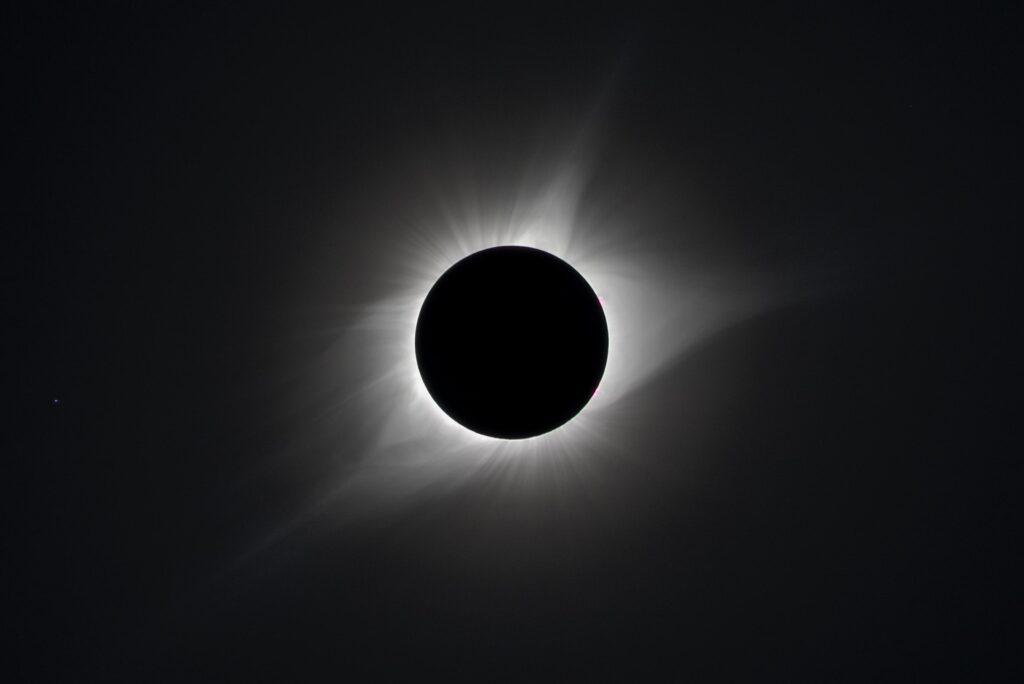
The solar corona is the faint, glowing outer layer of the Sun’s atmosphere. During totality, when the Moon completely covers the bright solar disk, the corona appears as delicate white streamers around the dark Moon.
It is very different from photographing a sunrise or sunset. The corona is faint, the light changes quickly, and totality may last only a few minutes. That is why practice and preparation matter more than improvisation.
Safety First: Protect Your Eyes and Camera
Never look directly at the Sun without certified solar eclipse glasses or proper solar viewing equipment. Regular sunglasses are not safe. Your camera also needs protection during the partial phases of the eclipse.
Use a proper solar filter on your lens when any part of the bright Sun is visible. The filter must stay on during the partial phases. It can be removed only during totality, when the Sun is completely covered by the Moon. As soon as totality ends, put the filter back on immediately.
Important rule: no totality, no unfiltered viewing and no unfiltered photography.
Essential Gear for Solar Corona Photography
You can photograph the solar corona with a DSLR or mirrorless camera, but the right accessories make the process much easier.
- Camera: DSLR or mirrorless camera with manual controls.
- Lens: A telephoto lens between 200mm and 600mm is useful for close images of the corona.
- Tripod: A stable tripod is essential, especially when using longer focal lengths.
- Solar filter: Required for all partial phases of the eclipse.
- Remote shutter release: Helps reduce camera shake.
- Extra batteries and memory cards: Travel conditions can be unpredictable.
- Lens cloth: Dust, humidity, and fingerprints can ruin sharp images.
A tracking mount can help, but it is not required for beginners. A normal tripod is enough if you practice framing and adjusting your camera before the eclipse.
Best Camera Settings for the Solar Corona
There is no single perfect exposure for the solar corona because its brightness changes from the inner corona to the faint outer streamers. The best approach is to use exposure bracketing.
Start with these basic settings:
- Mode: Manual mode.
- File format: RAW.
- Aperture: f/5.6 to f/8.
- ISO: ISO 100 to 400.
- Shutter speed: Bracket from around 1/1000 second to 1 second during totality.
- Focus: Manual focus, set carefully before totality.
Short exposures capture the bright inner corona. Longer exposures reveal the faint outer corona. Taking a series of different exposures gives you more flexibility later when editing.
Focus Before Totality
Focusing during totality wastes precious time. Set your focus before the eclipse reaches totality. Use the Sun with a solar filter attached, or focus on a distant object before the event. Once focus is sharp, switch to manual focus and avoid touching the focus ring.
If your lens has image stabilization, test it before the eclipse. On some lenses, stabilization can help when handholding, but it may cause issues on a tripod. Practice with your own equipment before traveling.
Plan Your Composition
For a close view of the corona, use a long focal length and keep the Sun centered. For a wider travel-style photo, include the landscape, people, or the eclipse-viewing location. Both approaches can work well, but they require different lenses and settings.
If this is your first eclipse trip, keep the setup simple. A single camera on a tripod is easier to manage than several cameras at once. Remember that you are not only there to take pictures. You are there to experience the eclipse.
Travel Tips for Eclipse Photography
Travel adds another layer of planning. Weather, transport, crowds, and luggage limits can all affect your photography.
- Arrive at your viewing location early.
- Check the weather forecast and have a backup location if possible.
- Practice setting up your tripod and camera quickly.
- Keep your solar filter in an easy-to-reach place.
- Pack gear in carry-on luggage when flying.
- Bring a printed checklist, not only a phone note.
- Do not rely on buying batteries, filters, or memory cards at the destination.
Choose a location with an open view of the sky. Avoid places where buildings, trees, or mountains may block the Sun during the eclipse.
Simple Eclipse-Day Workflow
A clear workflow helps you stay calm when the moment arrives.
- Set up your tripod and camera well before the eclipse begins.
- Attach the solar filter before pointing the lens at the Sun.
- Focus carefully and switch to manual focus.
- Take test shots during the partial phase.
- Prepare your exposure bracketing sequence.
- Remove the solar filter only when totality begins.
- Photograph the corona using different shutter speeds.
- Put the solar filter back on before totality ends.
- Take a moment to look at the eclipse with your own eyes using safe methods.
Common Mistakes to Avoid
The most common mistake is spending too much time adjusting settings during totality. The second is forgetting to remove the solar filter during totality, which can result in very dark images of the corona. Another mistake is using autofocus, which may struggle in the unusual lighting conditions.
Practice your entire process at home. Set up the tripod, mount the lens, focus manually, change shutter speeds, and use the remote release. The more familiar your hands are with the gear, the more relaxed you will be during the eclipse.
Editing Solar Corona Photos
RAW files give you the best editing flexibility. In post-processing, adjust exposure, contrast, highlights, and shadows carefully. Avoid over-editing. The solar corona has a natural, delicate structure, and too much sharpening or contrast can make the image look artificial.
If you captured multiple exposures, you may combine them to show both the bright inner corona and the faint outer streamers. This takes more editing skill, but it can produce a more balanced final image.
Final Checklist for Travelers
- Camera with manual mode
- Telephoto lens
- Stable tripod
- Certified solar filter for the lens
- Solar eclipse glasses
- Remote shutter release
- Extra batteries
- Extra memory cards
- Lens cloth
- Printed eclipse timing and location details
- Backup viewing plan
Conclusion
Photographing the solar corona is a rare and unforgettable experience. The key is not to make your setup too complicated. Use safe equipment, practice before the trip, prepare your settings, and keep your workflow simple.
A good solar corona photo is valuable, but the experience itself matters even more. During totality, take at least a few seconds away from the camera and look at the sky. That memory will stay with you long after the photos are edited.
Frequently Asked Questions About Photographing the Solar Corona
Can I photograph the solar corona with a smartphone?
A smartphone can capture the general atmosphere of a total solar eclipse, but it is not ideal for detailed photos of the solar corona. For better results, use a camera with manual controls and a telephoto lens.
Do I need a solar filter to photograph the corona?
You need a solar filter during the partial phases of the eclipse. The filter should be removed only during totality, when the Sun is fully covered by the Moon. Put it back on before totality ends.
What lens is best for solar corona photography?
A telephoto lens between 200mm and 600mm is a good choice. Shorter lenses can work for wide travel shots, especially if you want to include the landscape.
Should I shoot in RAW or JPEG?
RAW is the better choice because it gives you more control when editing exposure, contrast, and detail in the corona.
Is a tripod necessary?
Yes, a tripod is strongly recommended. It keeps the camera stable and helps you frame the Sun accurately during the eclipse.